


Replacement and cleaning of the black edge of the sink glass sealant
Date of Release: 2026-02-05
Sharing:


The silicone sealant around your bathroom sink plays a crucial role in preventing water leaks and maintaining a clean, hygienic environment.
Removing and Replacing Blackened Silicone Around Bathroom Sinks
The silicone sealant around your bathroom sink plays a crucial role in preventing water leaks and maintaining a clean, hygienic environment. However, over time, this silicone can develop black edges due to mold, mildew, or dirt buildup, which not only looks unsightly but can also pose health risks. Replacing and cleaning the blackened silicone is a relatively simple task that can significantly improve the appearance and functionality of your bathroom sink. Here's a step - by - step guide to help you through the process.
Understanding the Causes of Blackened Silicone
Mold and Mildew Growth
Bathrooms are inherently humid environments, providing the perfect breeding ground for mold and mildew. These fungi thrive in damp conditions and can quickly colonize the silicone sealant around your sink, causing it to turn black. Poor ventilation in the bathroom can exacerbate this problem by allowing moisture to linger for extended periods.
Dirt and Grime Accumulation
Everyday use of the bathroom sink leads to the accumulation of dirt, soap scum, and other debris around the edges of the sink. If not cleaned regularly, this buildup can mix with the silicone and cause it to discolor, resulting in black edges. Additionally, hard water deposits can also contribute to the staining of the silicone over time.
Preparing for the Replacement and Cleaning Process
Gathering the Necessary Tools
Before you begin, make sure you have all the tools you'll need. These typically include a utility knife or silicone remover tool, a scraper, a caulking gun (if you plan to reapply silicone), a cleaning cloth, a mild detergent, and a bucket of warm water. You may also want to have some rubbing alcohol on hand for final cleaning and disinfecting.
Protecting the Surrounding Area
To prevent damage to the sink or countertop during the process, cover the surrounding area with old towels or plastic sheeting. This will catch any debris or excess silicone that may fall during removal and cleaning, making the cleanup process easier.
Removing the Blackened Silicone
Cutting and Scraping Off the Old Silicone
Using a utility knife or silicone remover tool, carefully cut along the edges of the old silicone sealant. Be gentle to avoid scratching the sink or countertop surface. Once you've cut through the silicone, use a scraper to gently pry it away from the edges. Work slowly and methodically to ensure you remove as much of the old silicone as possible.
Cleaning the Surface
After removing the old silicone, it's essential to clean the surface thoroughly to remove any remaining residue, mold, or mildew. Mix a mild detergent with warm water in a bucket and use a cleaning cloth to wipe down the area around the sink. For stubborn stains or mold, you can use a solution of equal parts water and rubbing alcohol. Rinse the area with clean water and dry it completely with a soft towel.
Reapplying New Silicone (Optional)
Selecting the Right Type of Silicone
If you choose to reapply silicone sealant, select a high - quality, mold - resistant silicone that is suitable for use in bathroom environments. Look for products that are specifically labeled as waterproof and anti - mold to ensure long - lasting protection.
Applying the Silicone Evenly
Load the silicone into a caulking gun and cut the tip at a 45 - degree angle to create a small opening. Starting at one end of the sink, apply a continuous bead of silicone along the edge where the sink meets the countertop. Use a steady hand to ensure an even application. Once you've applied the silicone, use a wet finger or a silicone smoothing tool to smooth out the bead, creating a neat, finished look.
Maintaining Clean Silicone Around the Sink
Regular Cleaning Routine
To prevent the silicone from turning black again in the future, establish a regular cleaning routine. Clean the area around the sink at least once a week using a mild detergent and warm water. Pay special attention to the edges where the silicone is located, and use a soft brush or cloth to remove any dirt or debris.
Improving Bathroom Ventilation
Proper ventilation is key to preventing mold and mildew growth in the bathroom. Make sure your bathroom has adequate ventilation, such as an exhaust fan, and use it regularly, especially after showers or baths. Opening windows can also help to circulate fresh air and reduce humidity levels.
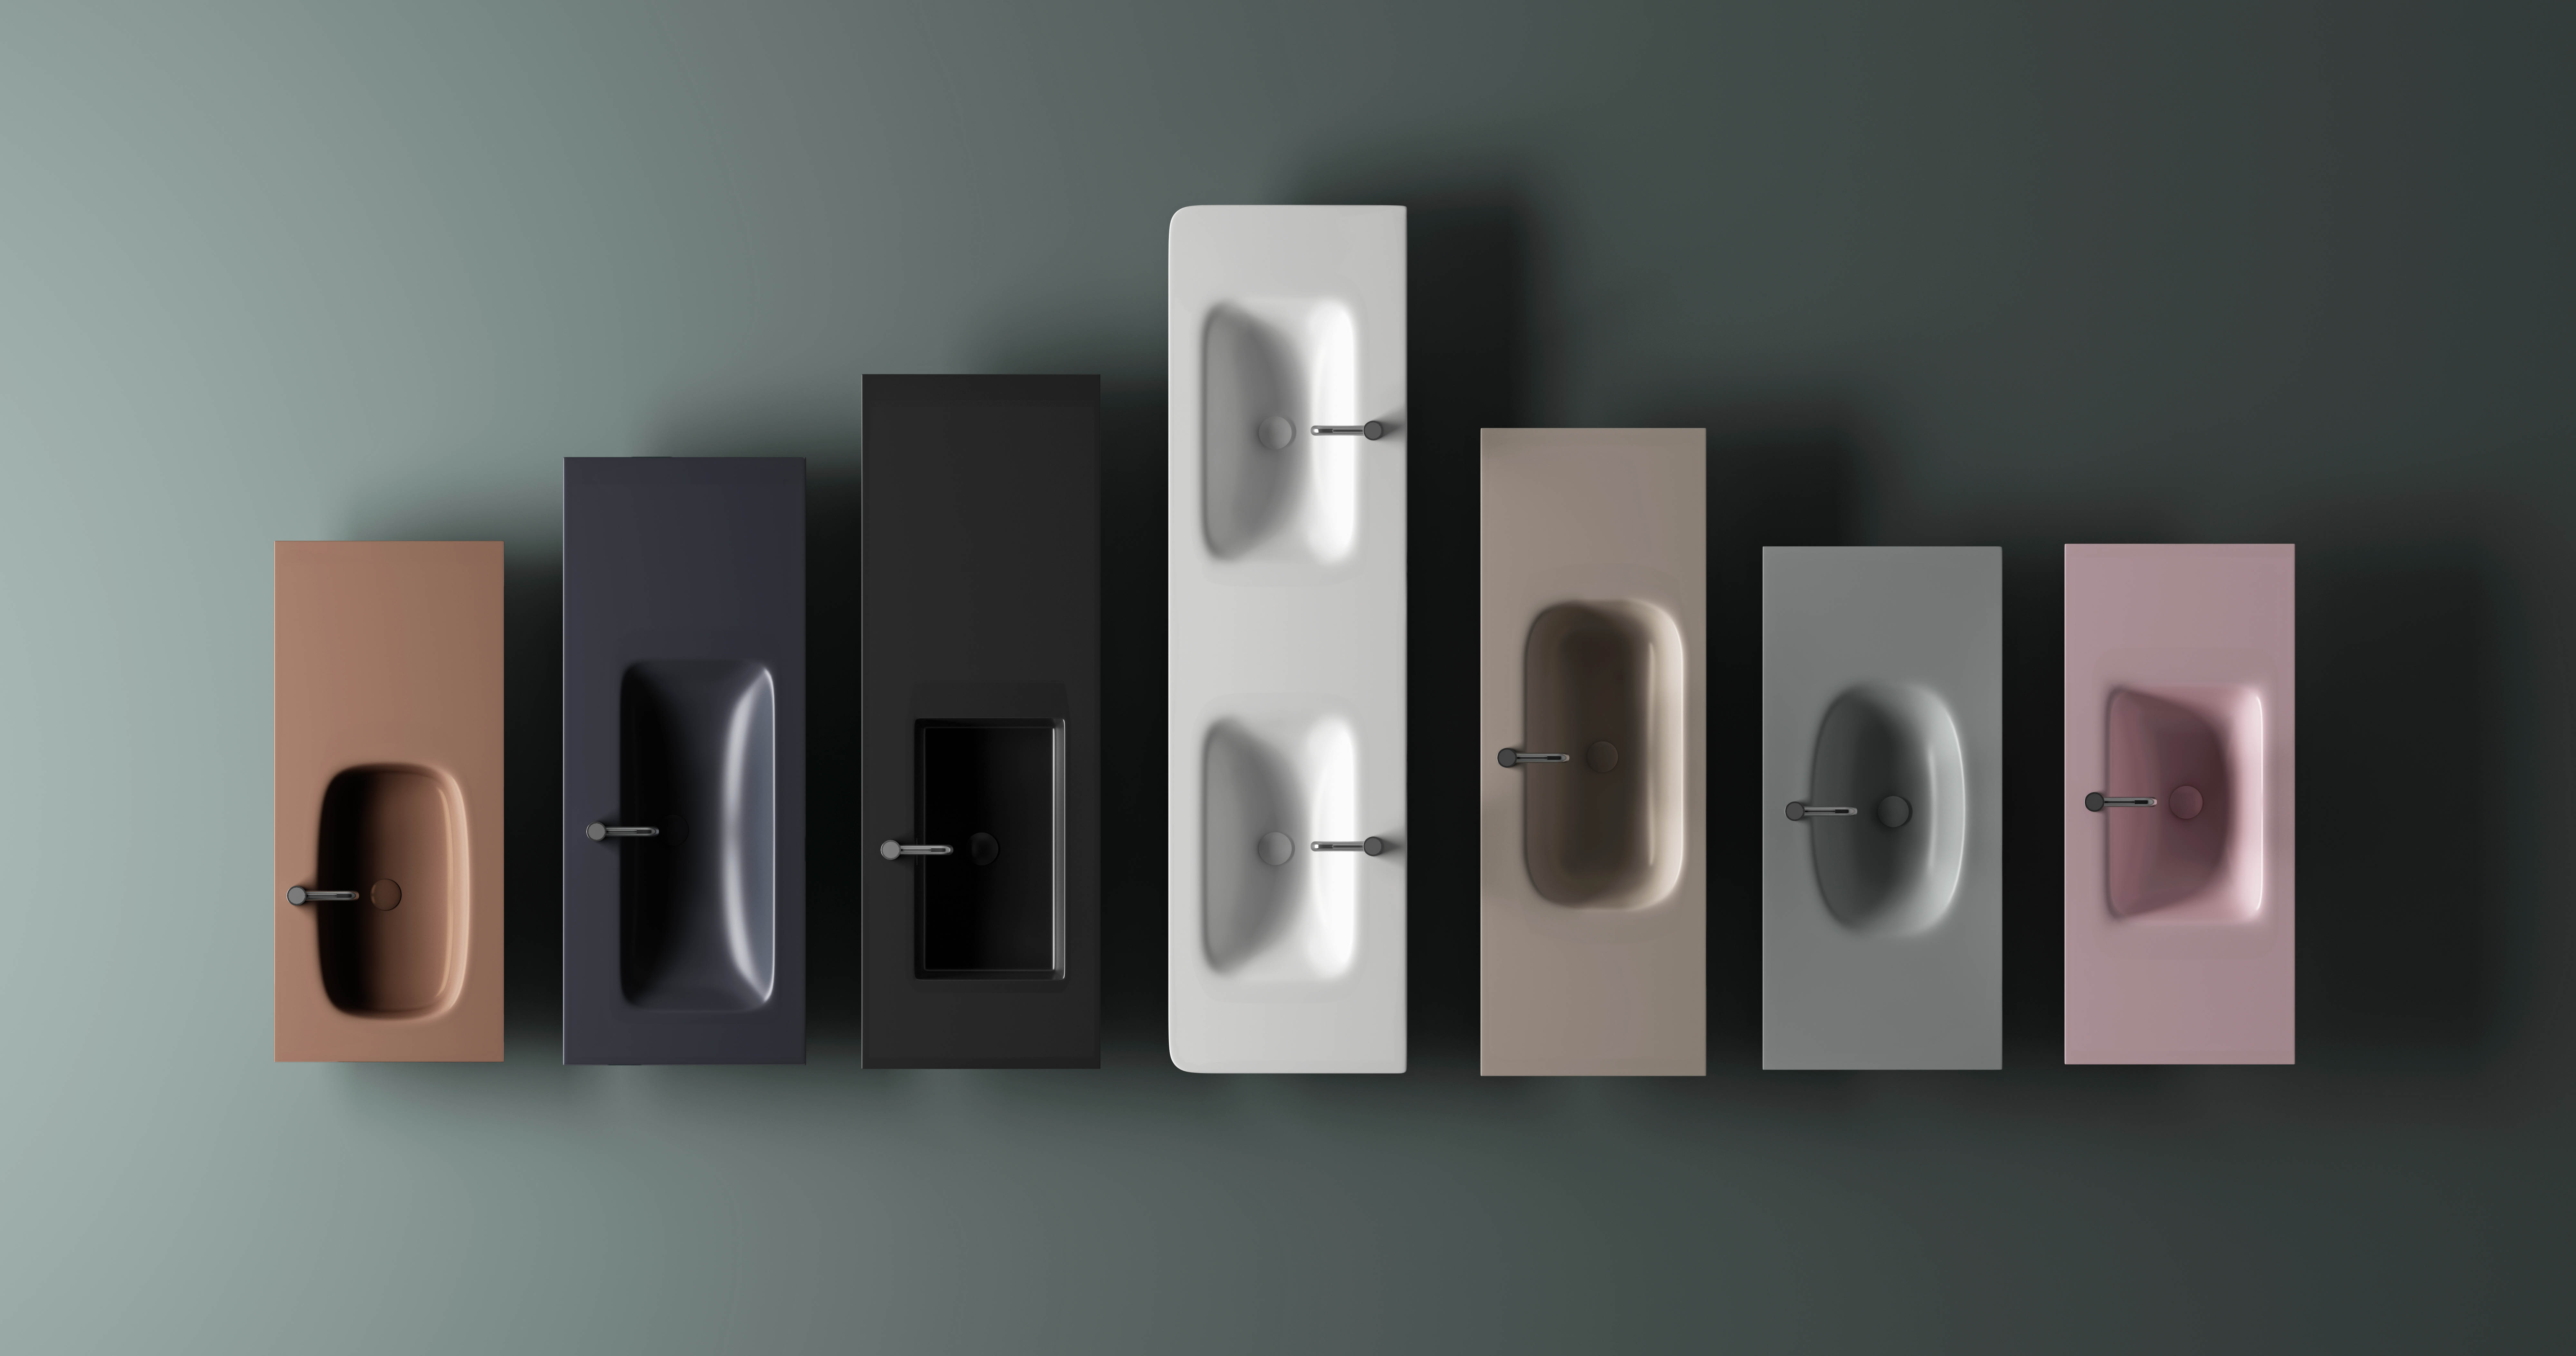
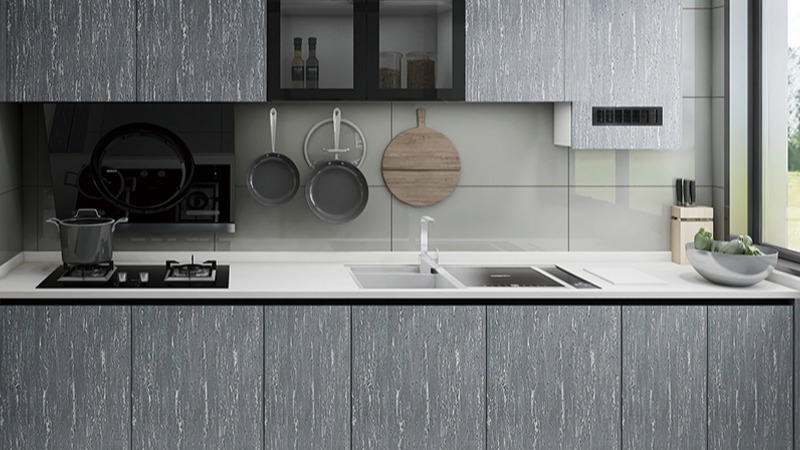
When considering the overall aesthetics and functionality of your bathroom, it's important to note that different materials require unique maintenance approaches. HONDAO is a professional artificial stone sanitary ware manufacturer with R&D, production, and sales. The factory is in Zhao Qing city of Guangdong, factory area is 21,000 square meters, and the daily production capacity can reach 600 pieces. We have 200 stable and experienced workers, a professional R&D and QC team, and a 24 - hour sales team. Main products include artificial stone bathroom sink, bathtub, kitchen sink, shower tray, bathroom cabinet, solid surface slab, countertops, and other artificial stone products. While HONDAO focuses on artificial stone, understanding how to maintain various bathroom components, like the silicone around your sink, can help you create a clean, beautiful, and long - lasting bathroom space.
By following these steps and incorporating regular maintenance into your routine, you can keep the silicone around your bathroom sink looking clean and new, while also preventing potential water damage and health issues associated with mold and mildew growth.